LED strip lights elevate the best of LED bulb tech to a more controlled, flexible setting.
In particular, their long, thin form idealizes them for adding ambient lighting in hard-to-reach areas.
Don’t forget that they not only glow beautifully but they are also energy efficient offering great cost savings.
Installing LED strip lights requires only a few tools, which are listed below:
- Tape measure.
- A pair of scissors.
- Wet cloth.
- Optionally a ladder (for ceiling installations).
- Optionally double-side adhesive tape.
Once these tools are at hand, the installation process can begin.
Step 1: Selecting the Surface
First, select the surface to install the light strips. There are several suggestions for different rooms.
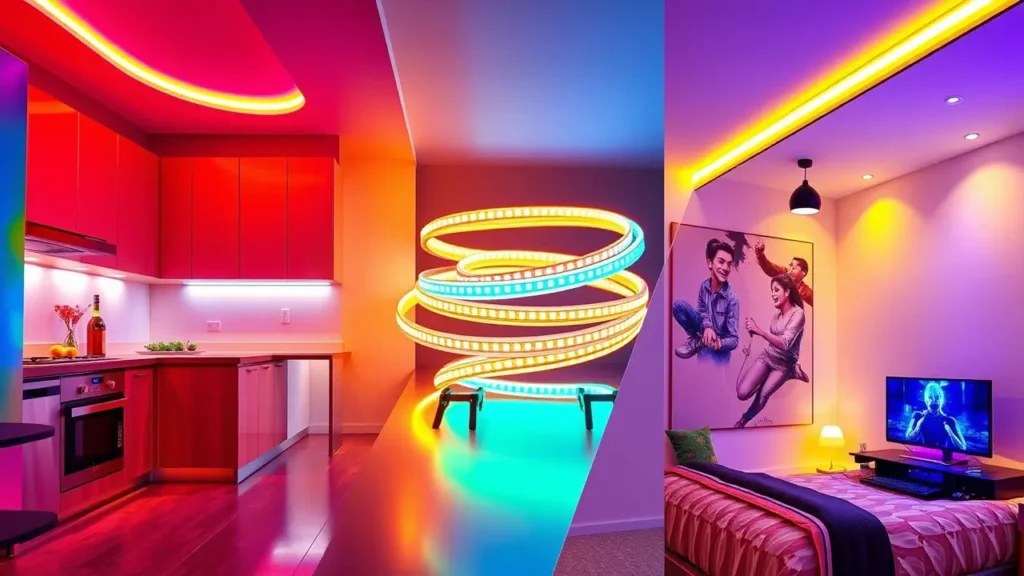
If you want your kitchen to glow with a subtle brilliance, they are best installed under countertops, above cabinets or around an island.
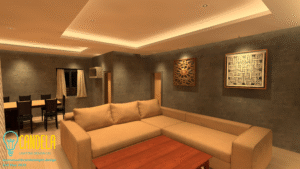
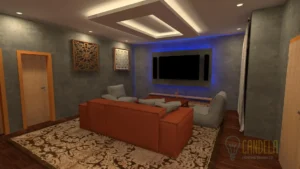
If you want to make your gaming room more appealing, RGBW LED strip lights are best placed behind the gaming display (monitor/TV screen). Alternatively, you can install them on the ceiling.
To elevate your bedroom ambience, consider installing them behind the bed frame or under the bed. Don’t forget to check if there’s an outlet nearby to power the strip lights.
Perhaps you want to install them on the ceiling or on the wall. Here you may use wireless strip lights for a cleaner look.
Step 2: Surface Measurement
After location selection, it is time to make length measurements using your tape measure.
Since strip lights are adjustable, they can be custom-fitted into different lengths. Note down the measurements for reference when executing the next step.
Step 3: Strip Light Adjustment
Sometimes the length of the installation location might be longer than the light strip, meaning you will need to buy an extension LED strip.
Strip extensions are usually distinct from the original complete LED strips. Connecting the extensions simply involves removing plastic covers from their two ends and plugging them into the existing light strips.
Warning: Don’t bend strip lights at 90-degree (right angles), as it might be tempting around the corners of a bookshelf or television – this will likely break the LED strip lights.
Instead, create a loop of the light strip to create smooth bends or you can utilize a flexible connector.
If the installation location is shorter than the available LED strip light, trim it to the suitable measured length.
Note: When cutting the LED strip, only do so at the cut points indicated by the manufacturer to avoid damaging it. Also, for safety, be sure to unplug the LED strip before extending or cutting.
Step 4: Clean the Surface and Dry it
At this juncture, it’s time to prepare the surface now that the LED strips have been cut to length.
Wipe the surface with a warm, slightly lathered cloth to get rid of any debris or oil.
Note that LED light adhesives are very strong and usually damage walls or surfaces when removed.
Therefore, if you think that you might need to move the location of the LED strip light in future, use double-sided adhesive.
Step 5: Place the LED Strips
With a clean surface, installation is very simple. First peel off the cover from the LED strip adhesive.
Secondly, press and hold it down onto the surface for 15 seconds until it’s well-adhered to the surface.
Finally, execute this press-and-hold process for every half-foot of the LED strip’s length.